Purpose
Preparing is an important step to ensure success when onboarding facilities to the BioSense Platform. This guide is intended for site administrators to learn about roles and responsibilities prior to beginning the process.

Step by step
This content is part of a series of online job aids related to onboarding. These resources are meant to be used together along with New Facility Onboarding—The Complete Guide.
Download this job aid: Pre-Onboarding: New Facility Planning
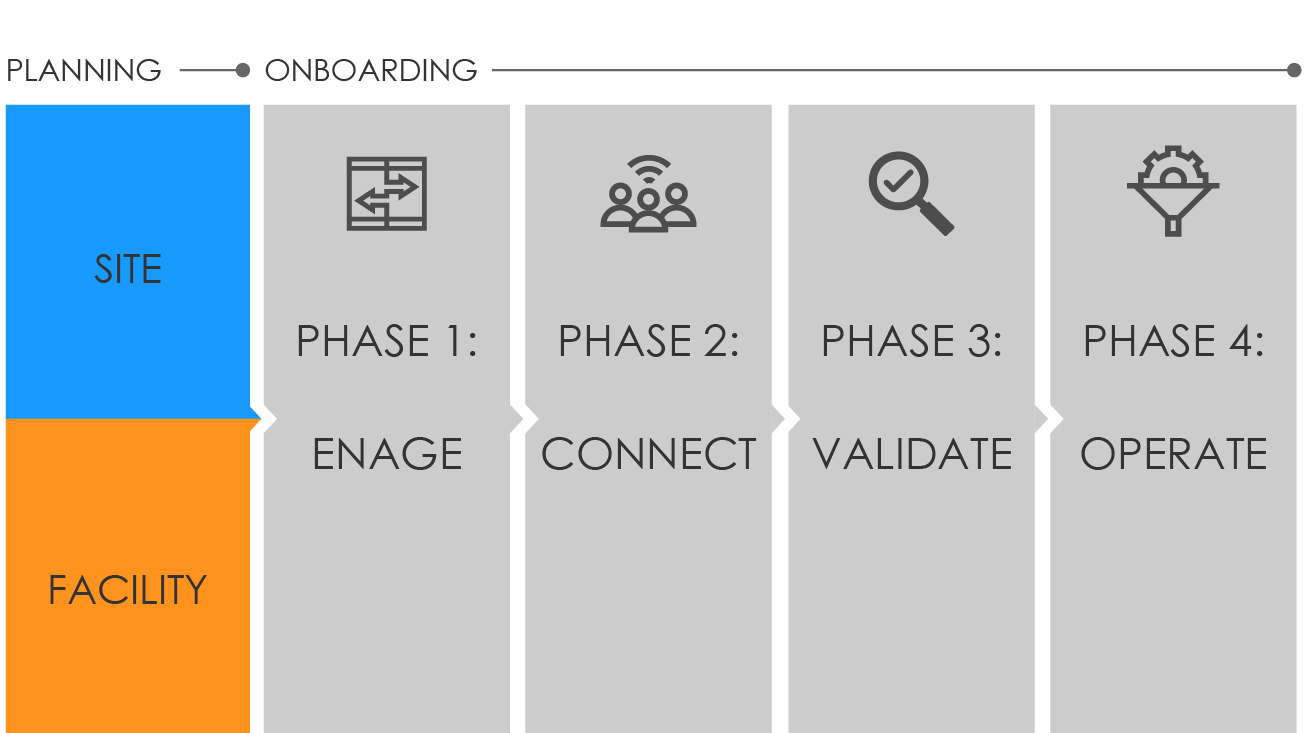
Onboarding is a collaborative process in which the NSSP and site teams work with a facility, health department, electronic health records vendor, or health information exchange to transmit syndromic data from medical record systems to the NSSP BioSense Platform. This guide will take the site administrator step by step through the activities that must be completed by the site's team before submitting a Service Desk ticket to start the onboarding process.

Step 1
Review Site Support Models to confirm the level of support needed during the onboarding process.
Step 2
If applicable, develop a Facility Recruitment Plan to prioritize the facilities you want to onboard. See New Facility Onboarding—The Complete Guide, 3.6 Recruitment Plan.
Step 3
Establish optional service-level agreements if needed: Downstream Data Use Agreement and BioSense Onboarding Process Facility Acknowledgement (New Facility Onboarding—The Complete Guide, Appendix B, Facility BOPA).
Step 4
Identify your team. NSSP recommends using guidance on definitions from New Facility Onboarding—The Complete Guide to fill site roles and responsibilities (see 3.3 Site Roles and Responsibilities):
- Site administrator
- Feed Administrator to establish feed connectivity
- Technical Contact to develop HL7® messages1
Step 5
Review training and resources:
- New Facility Onboarding—The Complete Guide
- NSSP Technical Resources
- NSSP Onboarding Resources
- Public Health Information Network (PHIN) Tools and Resources, PHIN Guides
- National Institute of Science and Technology (NIST) Data Validation Tools
- Master Facility Table Quick Start Guide
Step 6
Create and test the following HL7 message types:
A01—Admit/Visit
A03—Discharge/End Visit
A04—Registration
A08—Update Patient Information
- Message developers should always use the latest version of the PHIN Messaging Guide for Syndromic Surveillance, located on the CDC PHIN website.
- Upload message (follow NSSP file-naming conventions).
- To correct errors, use the NIST website tool to test at least two samples of each message type.
- Ensure data elements map correctly. If needed, remove personally identifiable information (PII).
STEP 7:
Resolve errors, if applicable, and resubmit HL7® messages to site.
STEP 8:
If applicable, download the NIST HL7® Validation Report and confirm successful results.
STEP 9:
Update the site Master Facility Table (MFT) to include the facility you want to onboard. Set the facility being onboarded to an onboarding status. To add a new facility, see the Master Facility Table Quick Start Guide.
- HL7® and FHIR® are the registered trademarks of Health Level Seven International, and their use of these trademarks does not constitute an endorsement by HL7.
